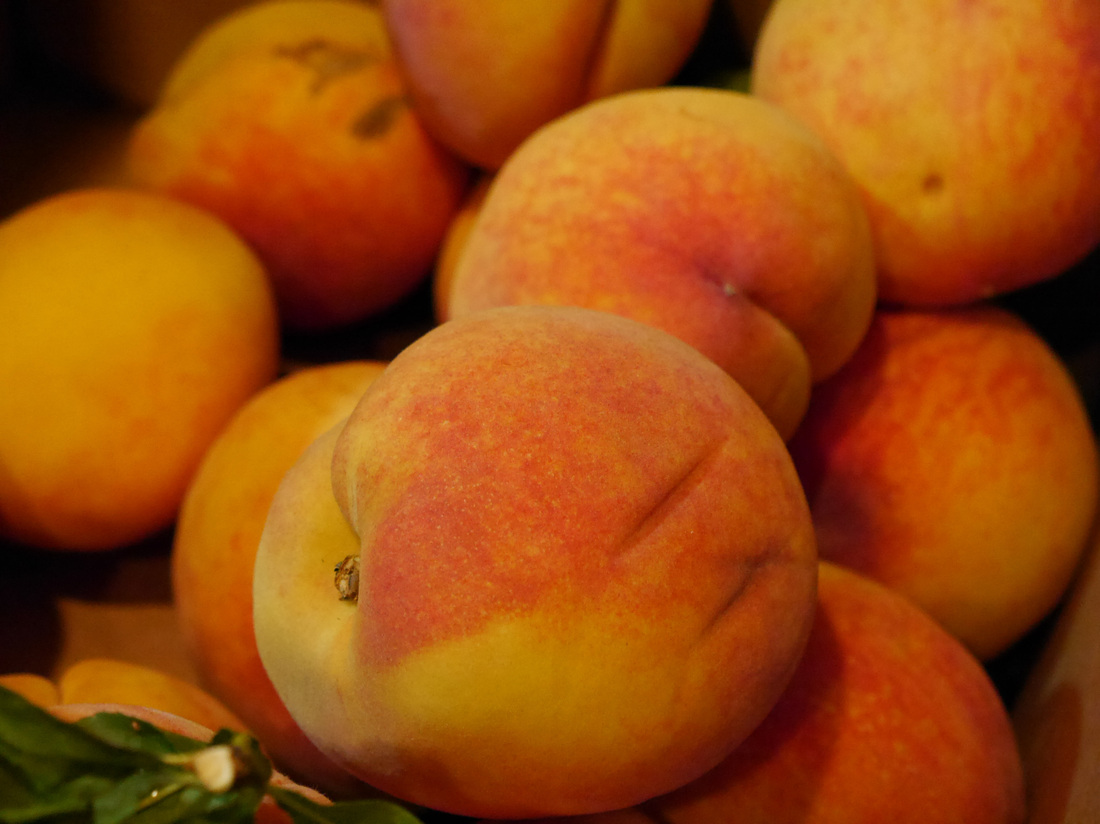
After a little discussion, deliberation, and divvying up of tasks...we determined how we were going to approach the preservation of all 40 pounds of these juicy behemoths. It would require blanching/skinning the peaches first, lots of lemon juice (squeezed on the peaches to preserve their integrity, both in texture and color), a pressure cooker and bread maker for the canning and preserves, respectively, lots of jars (which my friends brought with them), and some dedication to the task at hand. All of the equipment we used is outlined below. You know, just in case you ever want to follow in our footsteps.
Naturally, our first course of action after devising our plan of attack was to leave the house to go get Indian food. Whoops. Anyway, while at the store stocking up on lemons, I had a crazy idea pop into my head – how about we make some mango-mint-peach preserves in addition to the traditional ones? There wasn’t too much resistance, so we grabbed everything and headed back to my house to carry out our master plan for the peach extravaganza.
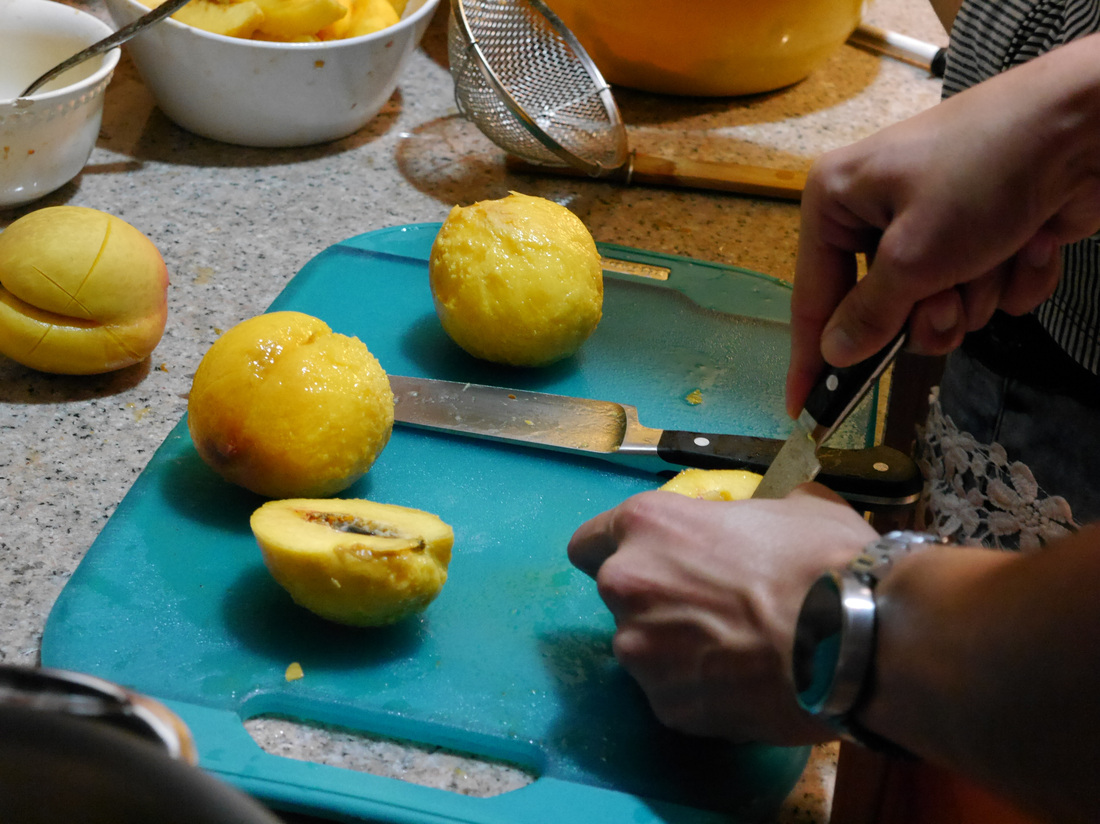
We began by scoring the peaches (put an X into the skin with a knife) and blanching them (cooked at a high heat and then removed with a spider directly to cold water) for about a minute each. There was a bowl for the peach skins and pits, and you can see from the pictures that this is a slightly messy process. Luckily, my assistants had the situation under control.
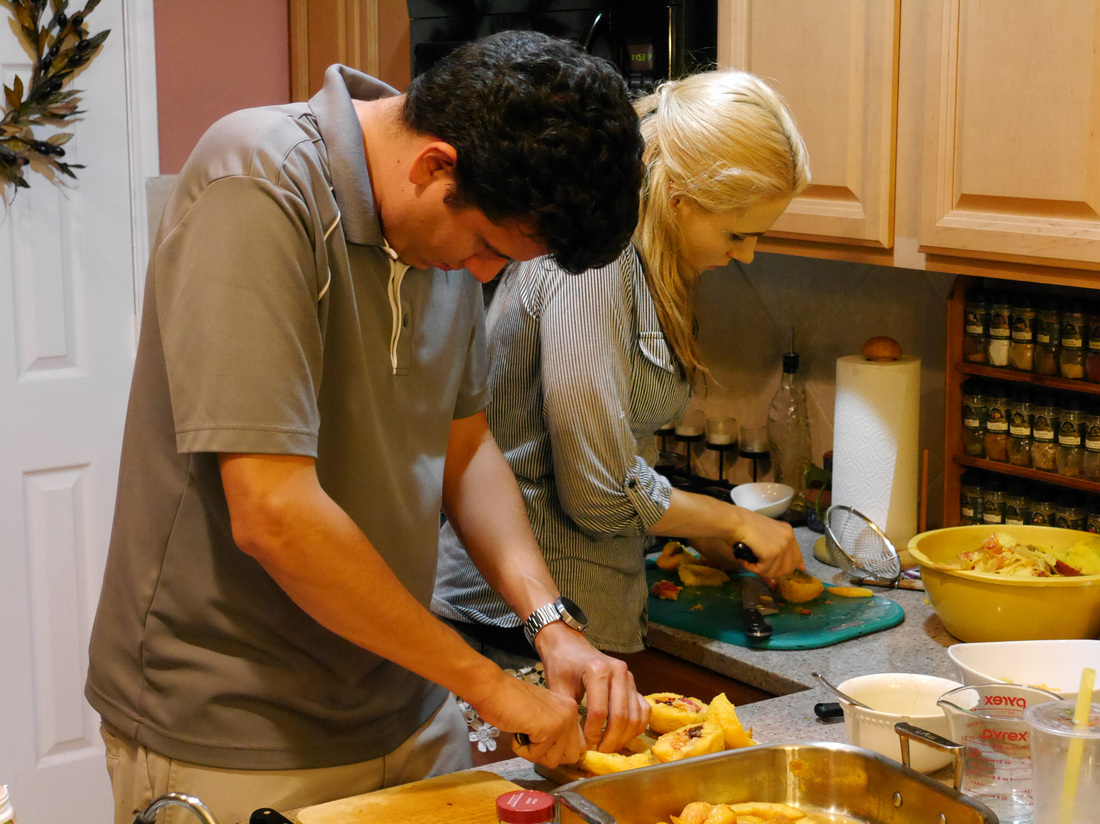
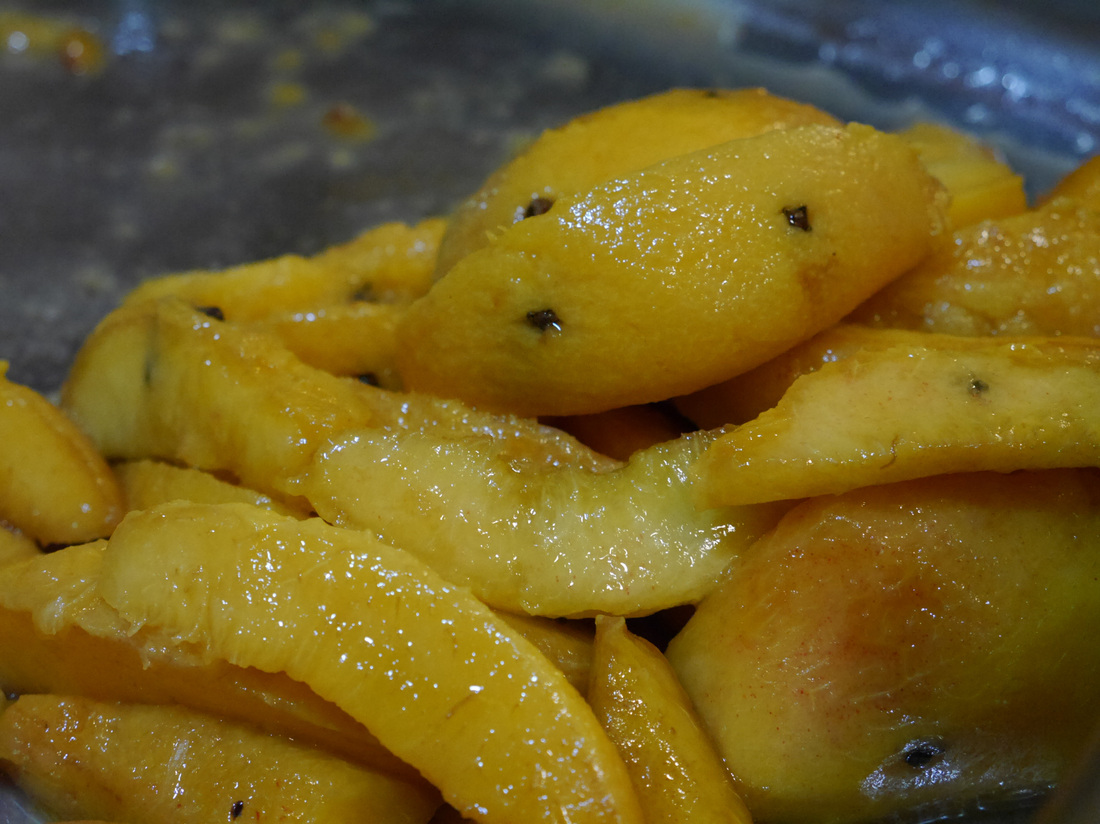
After they were completely peeled and pitted, we cut them up into eighths, placed them in a non-reactive roasting pan, and squeezed lemon juice over them to keep them from oxidizing/turning brown.
What was I doing while they were cutting all of these up? Supervising, of course. Well, that and further detailing a plan for how we were going to process all of the peaches in a timely/effective manner. Here’s what I came up with:
1. Peach preserves (regular) – mix peaches with pectin, sugar, lemon juice – pulse in food processor and let sit for 30 minutes, then put in bread maker on the jam cycle for another 1 hour and 20 minutes.
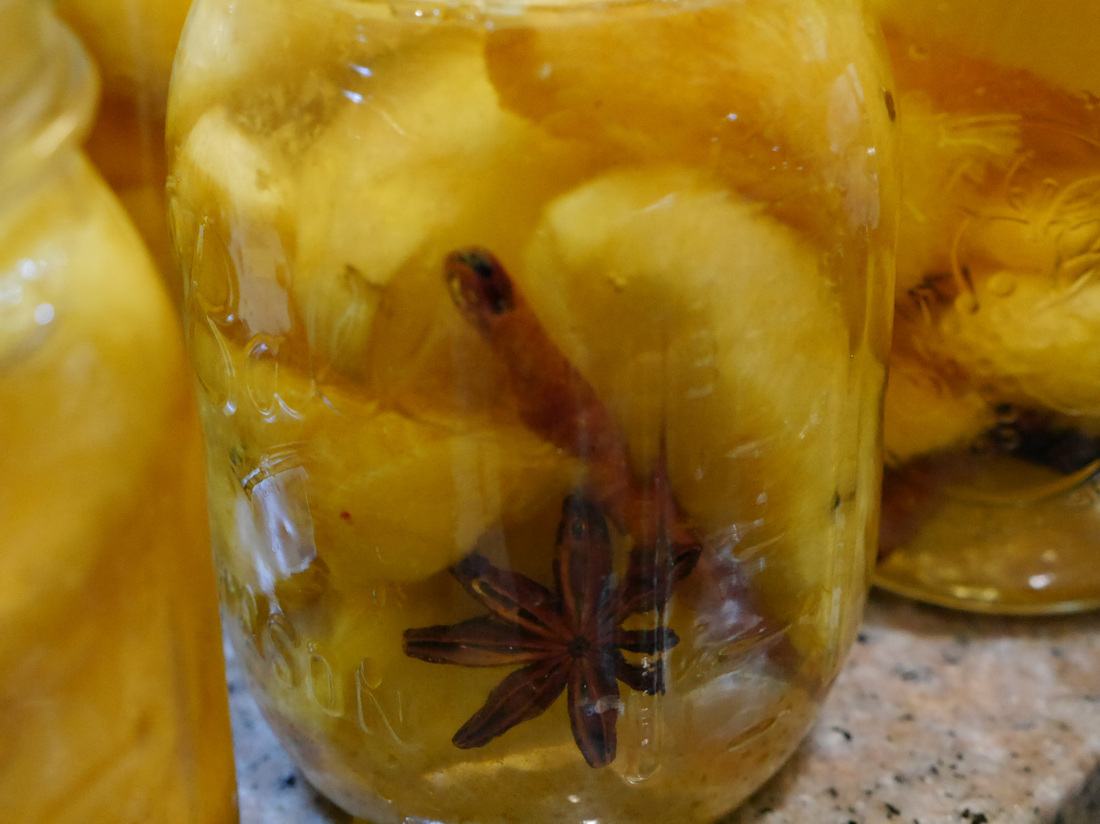
2. Pickled peaches – with a rough ratio of 3-4 parts sugar, 1 part water, and 1 part vinegar...the base for these was rather simple. The liquid was cooked for about 3-4 minutes so that the sugar could be dissolved in it. Added to each jar: 1 star anise pod, a cinnamon stick, and peaches studded with 1-2 cloves per slice.
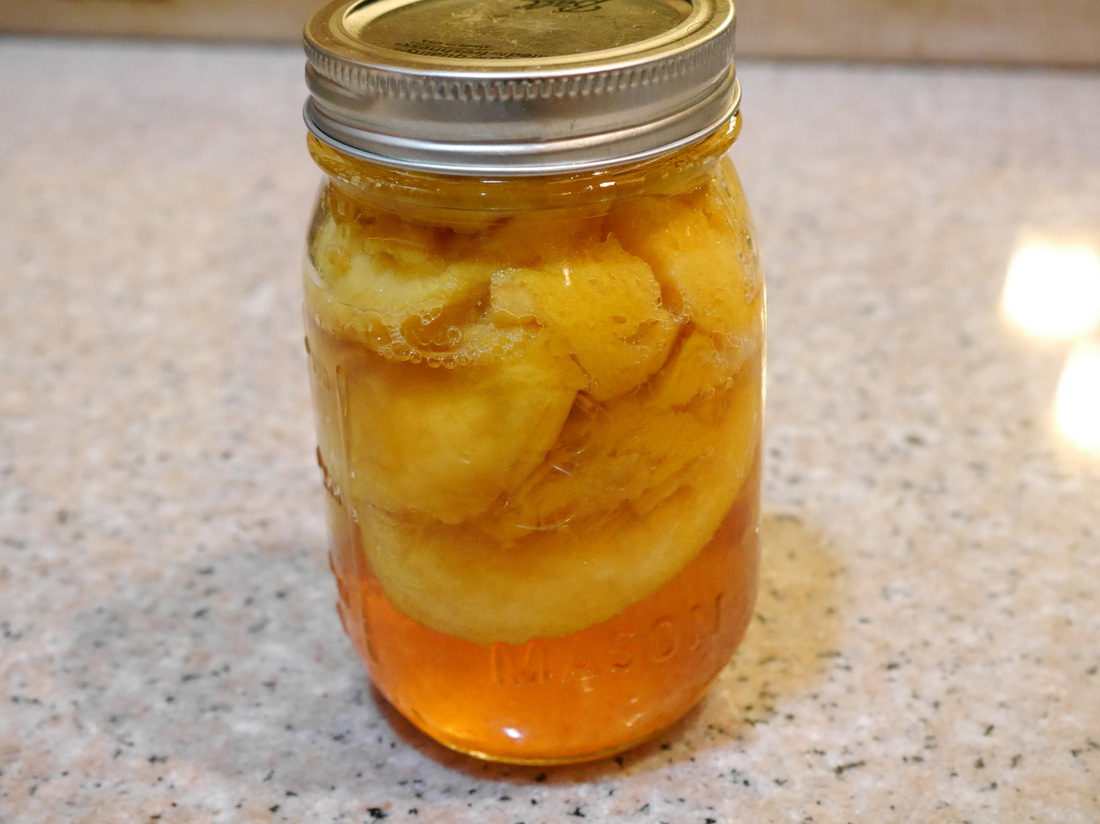
3. Canned peaches – syrup made with 6 cups of water and 1 cup of sugar. Could use more sugar for a sweeter syrup, or could go straight fruit juice as well.
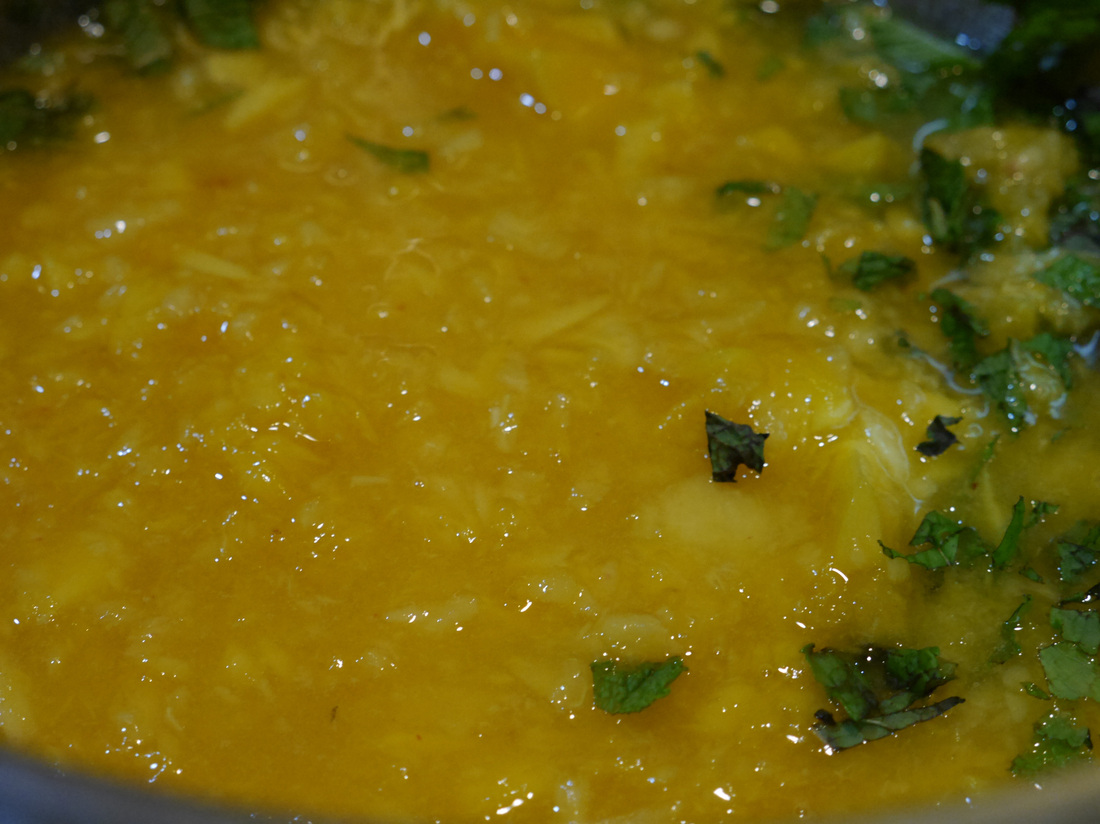
4. Peach/mango/mint preserves – same as regular preserves, but partial replacement of peaches with one regular sized mango and an addition of 3-4 tablespoons of chopped fresh mint.
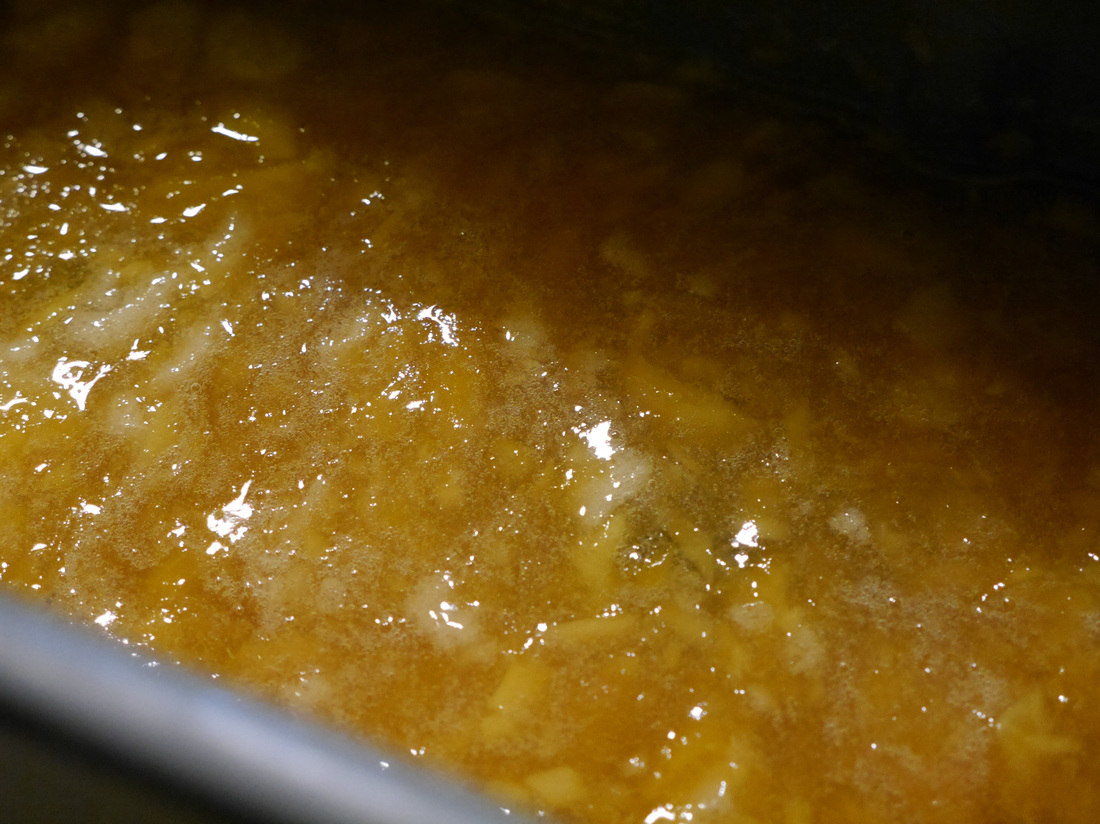
Getting the first batch of peach preserves going (since this was going to take the longest by far) was priority, so we whirred up the preserve mixture and got the bread maker working for us. After about an hour and a half, here’s what we ended up with:
We did a double batch in an attempt to save time and obviously double our yield, so it could have used another 20-30 minutes on low heat, stirring occasionally...to obtain a thicker texture. Do keep in mind if you’re making this that it will become slightly more gellified at refrigerated temperatures. You can also adjust the sugar content to your liking (we went on the less sweet side of things), or use an alternate form of sweetener. I think next time we do this, that will be our approach. Agave nectar or Stevia would most likely work pretty well with any of the methods we experimented with.
Anyhow, after the preserves were going we started on the pickled peaches. Michael did a spectacular job of studding the peaches with 1-2 cloves per slice (do not eat the cloves...you’ll regret it). The flavor they bring to the party is incredible and well worth a little extra time to do this.
We put the clove-studded peaches in a jar with a cinnamon stick and star anise pod and simply poured the cooled down pickling liquid over them before we sealed them up in the pressure cooker (aim for about 20 minutes at 10-12 PSI for sealing the jars).
We then turned our attention to the regular canned peaches. There are many ways to do this, depending on your taste. You can use fruit juice, water, alter the sugar content, or use an alternate sweetener. We made a syrup that was about 3:1 on the water to sugar ratio, with a couple tablespoons of vinegar added to prevent discoloration of the jars during canning.
At this point the first batch of preserves were about done and we’d already pulsed together some fresh mango, peach, pectin, sugar, and mint in a mini food processor and let it sit for about half an hour.
Another hour and some change in the bread maker while we sealed the pickled peaches and regular canned peaches and then we sealed those up too.
If you wanted to make preserves without a bread maker (which does the work for you), it’s simply a matter of putting the mixture on the stove and cooking at a low temperature for about an hour and a half until everything has become jam-like (whatever consistency you prefer).
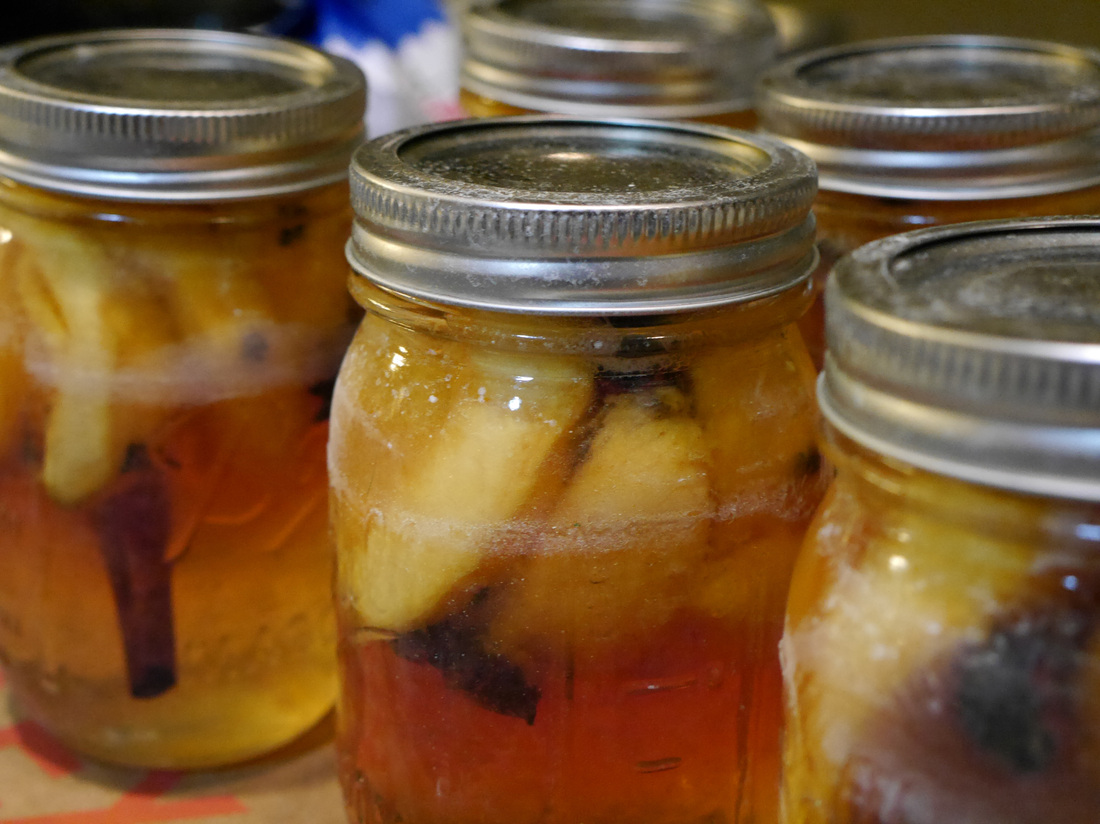
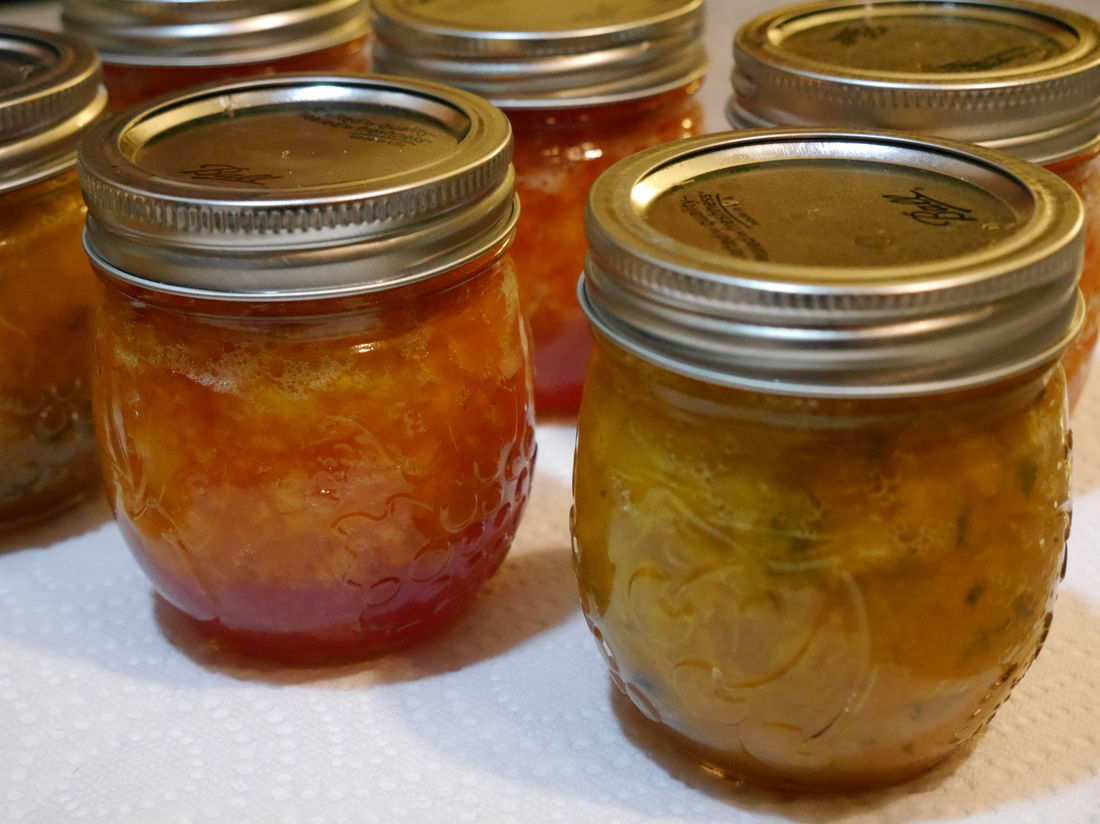
So the final yield was:
1. 7 jars of pickled peaches
2. 6 jars of regular canned peaches
3. 4 small jars of peach preserves
4. 3 small jars of peach/mango/mint preserves
Notes about peaches and this preservation process :
1. When choosing a peach for preservation, you want it to be mostly firm so that through the canning process it maintains its integrity.
2. Always use lemon juice/citric acid as you’re cutting up the peaches to cover all sides and prevent browning/oxidation.
3. A peach will not get any sweeter once it’s been removed from the tree, but it will continue to get softer. So if you get a hard peach at a store, don’t expect as much inherent sweetness.
4. Pack the peaches tightly in the pickled peach jars especially, as the pickling process will cause the peaches to shrink a little bit and they’ll float to the top.
5. A pressure cooker can be used for canning. Make sure there is at least 3 inches of water in the bottom of the pressure cooker and that the jars are elevated (on a rack) so that they don’t crack.
6. To seal the jars properly, about 20 minutes at a PSI of 10-12 is ideal.
7. Use a couple tablespoons of vinegar in the canned peach juice/syrup to prevent discoloration of jars.
All of the methods and ratios we used are listed above, and sugar (or sugar substitute) preferences will vary greatly, so taste as you go and adjust to your liking. That’s code speak for there won’t be any recipes listed here, but if you want to recreate any of these things, you have the recipes within the blog (or you can message me if you need tips on anything). Enjoy peach season!

 RSS Feed